
How to Explore Multiple Camera Angles From One Approved Image
A practical guide to exploring several viable viewpoints from one working still for storyboards, product shots, ads, and first-frame planning.
Generating multiple camera angles from one image is not mainly about rescuing one bad frame. It is about coverage planning from one locked still.
The source image should already be doing the hard work:
- the subject is already right
- the styling is already right
- the environment is already close
- the remaining question is which viewpoint should move forward
Once that base frame is stable, you can use it to test several alternate viewpoints without rebuilding the whole scene from scratch.
That is where Change Camera Angle with AI becomes useful inside MaxVideoAI.
One strong still can be enough to start testing coverage. The goal is to compare viable viewpoints, not rediscover the subject.
Single angle correction vs multi-angle exploration
These two workflows are related, but they do not solve the same problem.
| Workflow | Use it when | Goal | Best output |
|---|---|---|---|
| Single angle correction | One image is almost right, but the current viewpoint is weak | Improve one shot without rebuilding the whole image | One stronger replacement frame |
| Multi-angle exploration | One working image needs several alternate views for planning, testing, or coverage | Generate a short set of viable viewpoints from the same source | Several candidate frames to compare side by side |
Use single angle correction when the task is: “keep this image, just make the viewpoint better.”
Use multi-angle exploration when the task is: “this image is working, now give me several useful views to compare.”
That distinction matters because the winning output is different. In a correction workflow, you want one upgraded frame. In a coverage workflow, you want a small set of plausible views that help you choose what moves forward.
If your real problem is only one weak viewpoint, read Can AI Change the Camera Angle of a Photo? A Practical Workflow.
What one working image can become
Once the source is working, alternate angles can turn that same image into:
- a better thumbnail
- a stronger hero frame
- a new storyboard panel
- a more useful product view
- a better first frame before motion
That is why a multi-angle workflow can be more efficient than asking a fresh prompt to rebuild everything from zero. You are not asking the model to solve identity, styling, and composition again. You are asking it to explore camera decisions from a frame that already deserves to move forward.
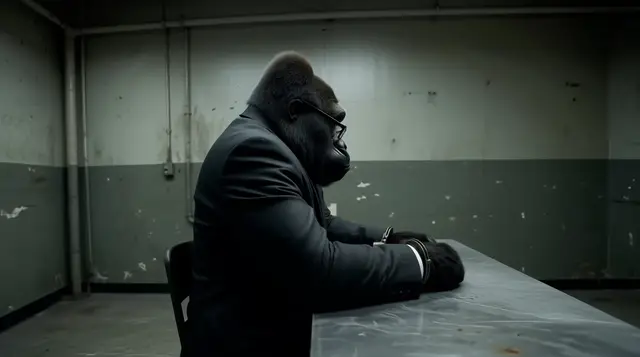
Four angle tests worth trying
Eye-level to low-angle
Best for: hero talent, founder portraits, product hero shots, character reveals.
What it changes: a low-angle view usually adds authority, scale, and more foreground presence.
Watch out for: exaggerated limbs, awkward chin or nose distortion, and background lines that start to overpower the subject.
Do not use it when: the brief depends on softness, neutrality, or highly accurate product proportions.
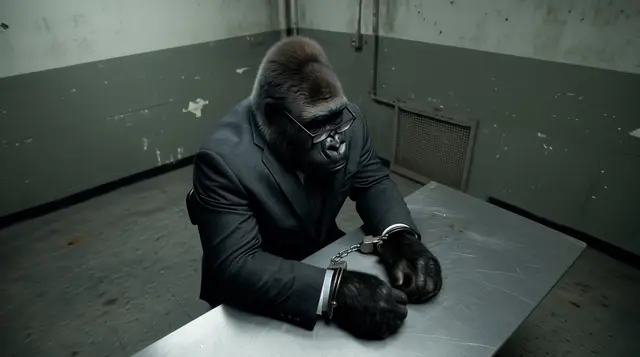
Straight portrait to 3/4 view
Best for: character portraits, fashion, beauty, talking-head thumbnails, and any subject that feels too flat front-on.
What it changes: a 3/4 view adds dimensionality, reveals contour, and often gives the frame more natural depth.
Watch out for: losing facial similarity, flattening one eye, or turning a clean frontal reference into something less recognizable.
Do not use it when: the shot needs a perfectly frontal read for catalog, ID-style framing, or symmetry.
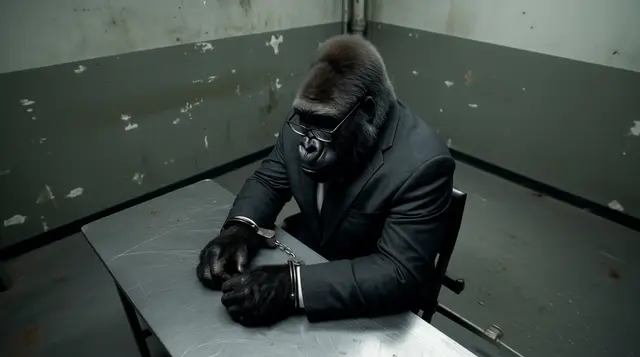
Hero shot to top-down
Best for: products, food, desk setups, layouts, kits, and scenes where arrangement matters more than drama.
What it changes: a top-down angle improves layout clarity, spatial readability, and how quickly a viewer understands the contents of the frame.
Watch out for: losing emotional connection, flattening depth, and making characters or hero objects feel less important.
Do not use it when: the shot needs cinematic force, character presence, or a strong sense of scale.
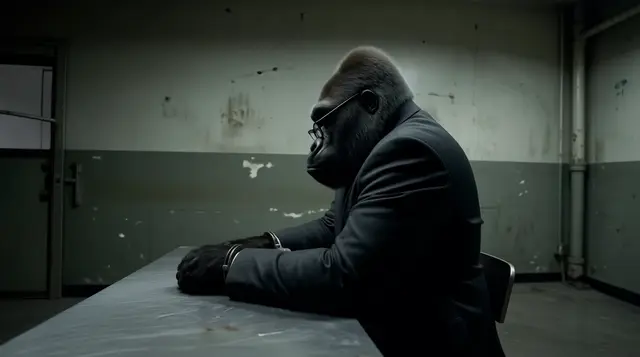
Product front to side angle
Best for: ecommerce, packaging coverage, commercial packshots, and paid creative where one approved product still needs several variants.
What it changes: a side angle reveals depth, edges, materials, and details that a straight-on packshot can hide.
Watch out for: warped branding, unreadable label text, or losing the visual clarity that made the original front view useful.
Do not use it when: compliance, label readability, or product comparison requires a clean front-facing view.
The point is not to rebuild identity. The point is to compare viable viewpoints from one working source.
How to choose the angle that moves forward
The most dramatic angle is not always the best one. The angle that moves forward is the one that does the job most clearly.
Check each candidate against a few practical filters:
Readability
Can a viewer understand the subject quickly, or does the angle make the frame harder to read?
Scale and authority
Does the new angle give the subject the right sense of presence for the brief, or does it feel too timid or too exaggerated?
Product clarity
If this is commercial work, does the angle preserve the details people actually need to see?
Room for motion
If the still will become a first frame, does it leave enough visual room for camera movement, subject movement, or scene development?
Storyboard usefulness
Does the angle add coverage that the existing frame does not already provide?
Platform and aspect-ratio fit
A good angle in 16:9 may fail in 9:16. Check whether the viewpoint still works inside the crop you actually plan to publish.
When not to use this workflow
Do not use multi-angle exploration when the base image itself is still unstable.
This workflow is the wrong fit when:
- the subject is not approved yet
- character identity is still drifting
- the styling still needs major changes
- the composition is fundamentally broken
- the frame needs a full rebuild, not a viewpoint variation
If the source is not ready, changing the angle only creates more versions of the wrong image. Get the subject and the base still right first, then explore viewpoints.
If character identity is the unstable part, solve that first in Consistent Character AI before you start changing perspective.
Where it fits in MaxVideoAI
A practical workflow inside MaxVideoAI looks like this:
- use Change Camera Angle with AI to explore several viewpoints
- refine the winning frame in Image if needed
- move the best still into Video as the first frame
- compare motion engines in the Model Hub and review clips in examples
That keeps the workflow simple: explore coverage first, choose one direction, then refine the selected frame instead of carrying several weak options downstream.
Best use cases
This workflow is strongest for:
- ecommerce and product pages when you want to compare more sellable viewpoints before launch
- paid social creative testing when you want alternate framing without rebuilding the concept
- agency concept work when one approved direction needs broader coverage for review
- storyboards and previs when one locked frame needs follow-on coverage
- character scene setup after identity is already solved and the next question is staging, not character design
If the character itself is still drifting, handle that first in Consistent Character AI before you start changing viewpoint.
Final takeaway
Generating multiple camera angles from one image is a way to turn one strong still into several usable coverage options.
Use Change Camera Angle with AI when the source is already working and the remaining question is not “How do I fix this shot?” but “Which viewpoint should move forward?”